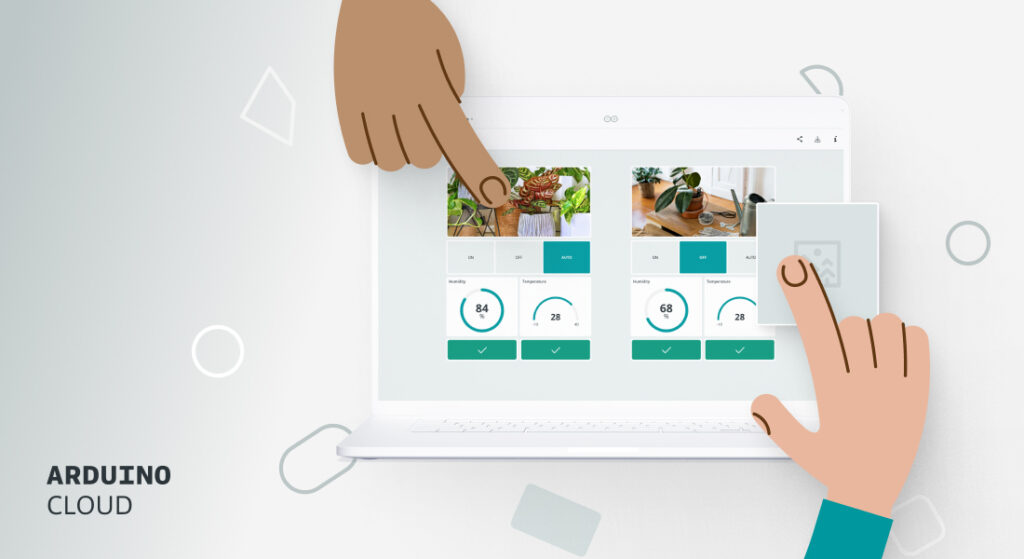
At Arduino, we’re constantly working to improve your IoT management experience. A few months ago, we shared a few updates to improve your dashboard experience and how to clone your IoT projects easily. Today, we’re excited to announce a new Arduino Cloud feature that will allow you to enhance your IoT dashboards visually: the Image widget.
The new Image widget
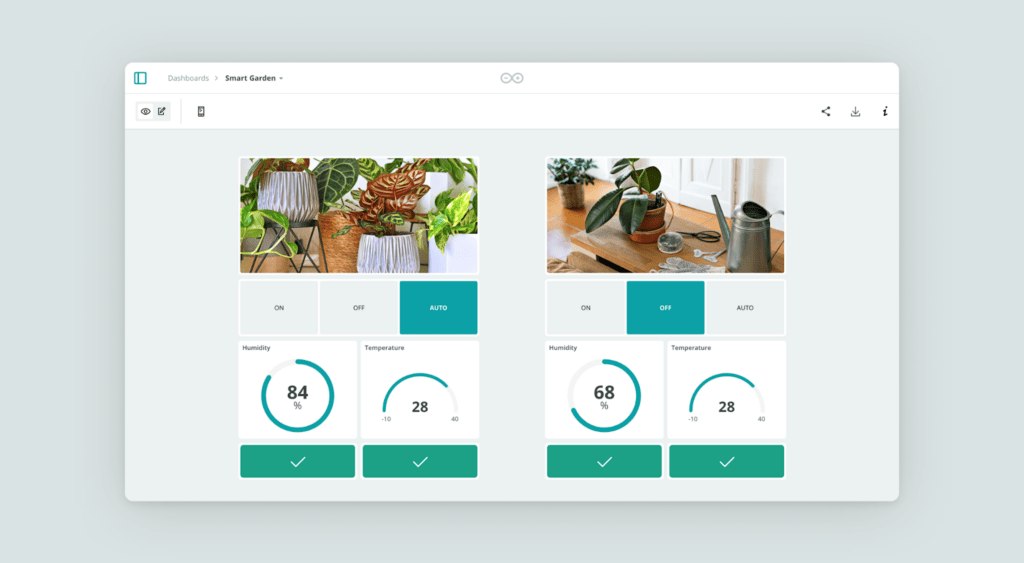
The Image widget is a simple yet powerful addition to your Arduino Cloud toolkit.
With this new widget, you can either upload a static image in formats like GIF, JPG, or WEBP, with a size limit of 5MB or specify a URL where the image is located.
You can choose between two display options:
- Fill the widget frame (cropping may occur).
- Fit the image within the frame (no cropping).
You can customize the widget frame by showing or hiding it, and select a white or gray background. Best of all, no Thing variable is needed!
5 tips to enhance your IoT dashboards in Arduino Cloud
The Image Widget isn’t just about aesthetics; it brings several practical advantages to your Arduino Cloud experience. Here’s how this simple addition can make your IoT dashboards look better:
1. Create a banner for your dashboard: Add a personalized header to your dashboard with your company or project logo.

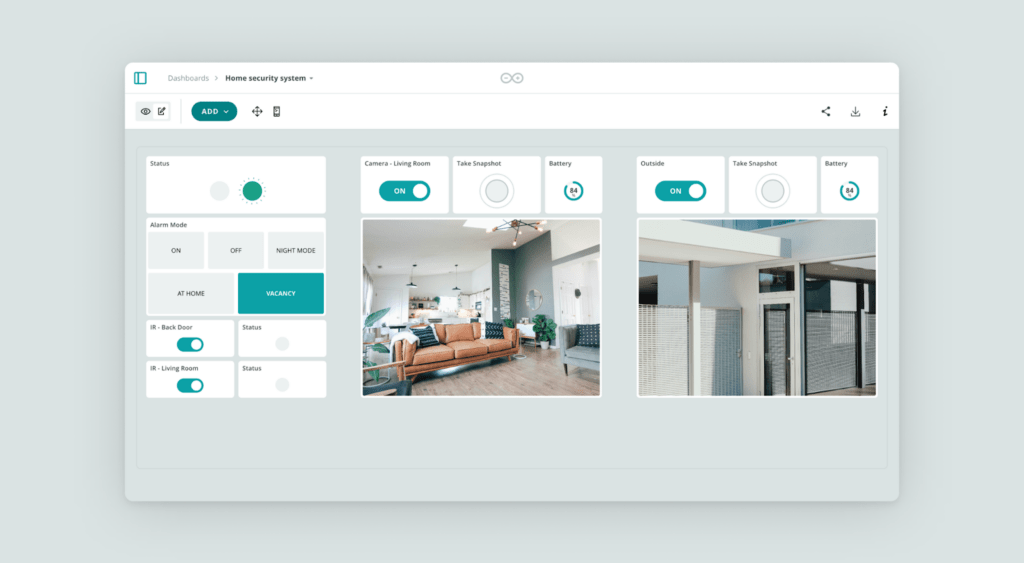
2. Identify sections of your dashboard with descriptive pictures: Use icons or images to visually categorize different parts of your dashboard, making it more intuitive to navigate.

3. Separate sections with an image acting as a separator: Improve the visual organization of your dashboard by using images as dividers between different sections.
4. Make your dashboards look prettier: Enhance the overall aesthetic appeal of your dashboards with carefully chosen images that complement your data visualizations.
5. Show camera snapshots: You can upload a picture taken from a camera at regular intervals or specific events, upload it to a fixed URL on a web server and display the picture in the dashboard.
How to use the Image widget
Adding the Image widget to your Arduino Cloud dashboard is a fairly straightforward process:
1. Open your Arduino Cloud dashboard.
2. Click on the “Add Widget” button.
3. Select “Image Widget” from the list of available widgets.
4. Upload your desired image (mind the 5MB size limit and file format) or indicate the image URL.
5. Choose your display option: Fill widget or Fit image.
6. Fine tune the final appearance: Decide whether to show or hide the widget frame and select your preferred background color (white or gray).
7. Position and resize the widget on your dashboard as needed.
Wait, what is Arduino Cloud?
New to Arduino Cloud? Arduino Cloud is an all-in-one IoT solution that empowers makers, IoT enthusiasts, and businesses to create, monitor, and control their IoT devices from anywhere in the world. With its intuitive interface, stunning customizable dashboards, and sharing capabilities, Arduino Cloud makes it easy to bring your IoT projects to life and collaborate with others.
Key features of the Arduino Cloud include:
- Zero-touch online development environment
- Real-time device monitoring and control
- Customizable dashboards with a variety of widgets, including our new Image widget
- Over-the-air updates for connected devices
- Secure data and sketch storage and management
- Easy sharing and collaboration tools for team projects
Get started with the new Image widget
The new Image widget is just one of the many ways we’re working to improve your experience with Arduino Cloud. By allowing you to personalize and organize your dashboards more effectively, you can make your IoT projects not just functional, but also visually appealing and intuitive. Check our documentation to learn more.
Ready to try out the new Image widget? Log in to your Arduino Cloud account today and start enhancing your dashboards for free. If you’re new to Arduino Cloud, there’s never been a better time to start. Sign up now and discover how Arduino Cloud can streamline your IoT development process.
The post Enhance your IoT dashboards with Arduino Cloud’s Image widget appeared first on Arduino Blog.
