jday.in.ua
Posts
Electronics
Programming
Textures
Search
Sign in
Register
Programming
Electronics
Gaming
Posts
Since 2026
Ship AI with Laravel: Real-Time Streaming Chat UI with Livewire
Drag-and-Drop Sorting for Eloquent Models with Reorderable for Laravel
Use a Google Sheet as Your Laravel Database with the Google Sheets Database Driver
Frontend Nation 2026 Returns June 3-4 with Laravel in the Lineup
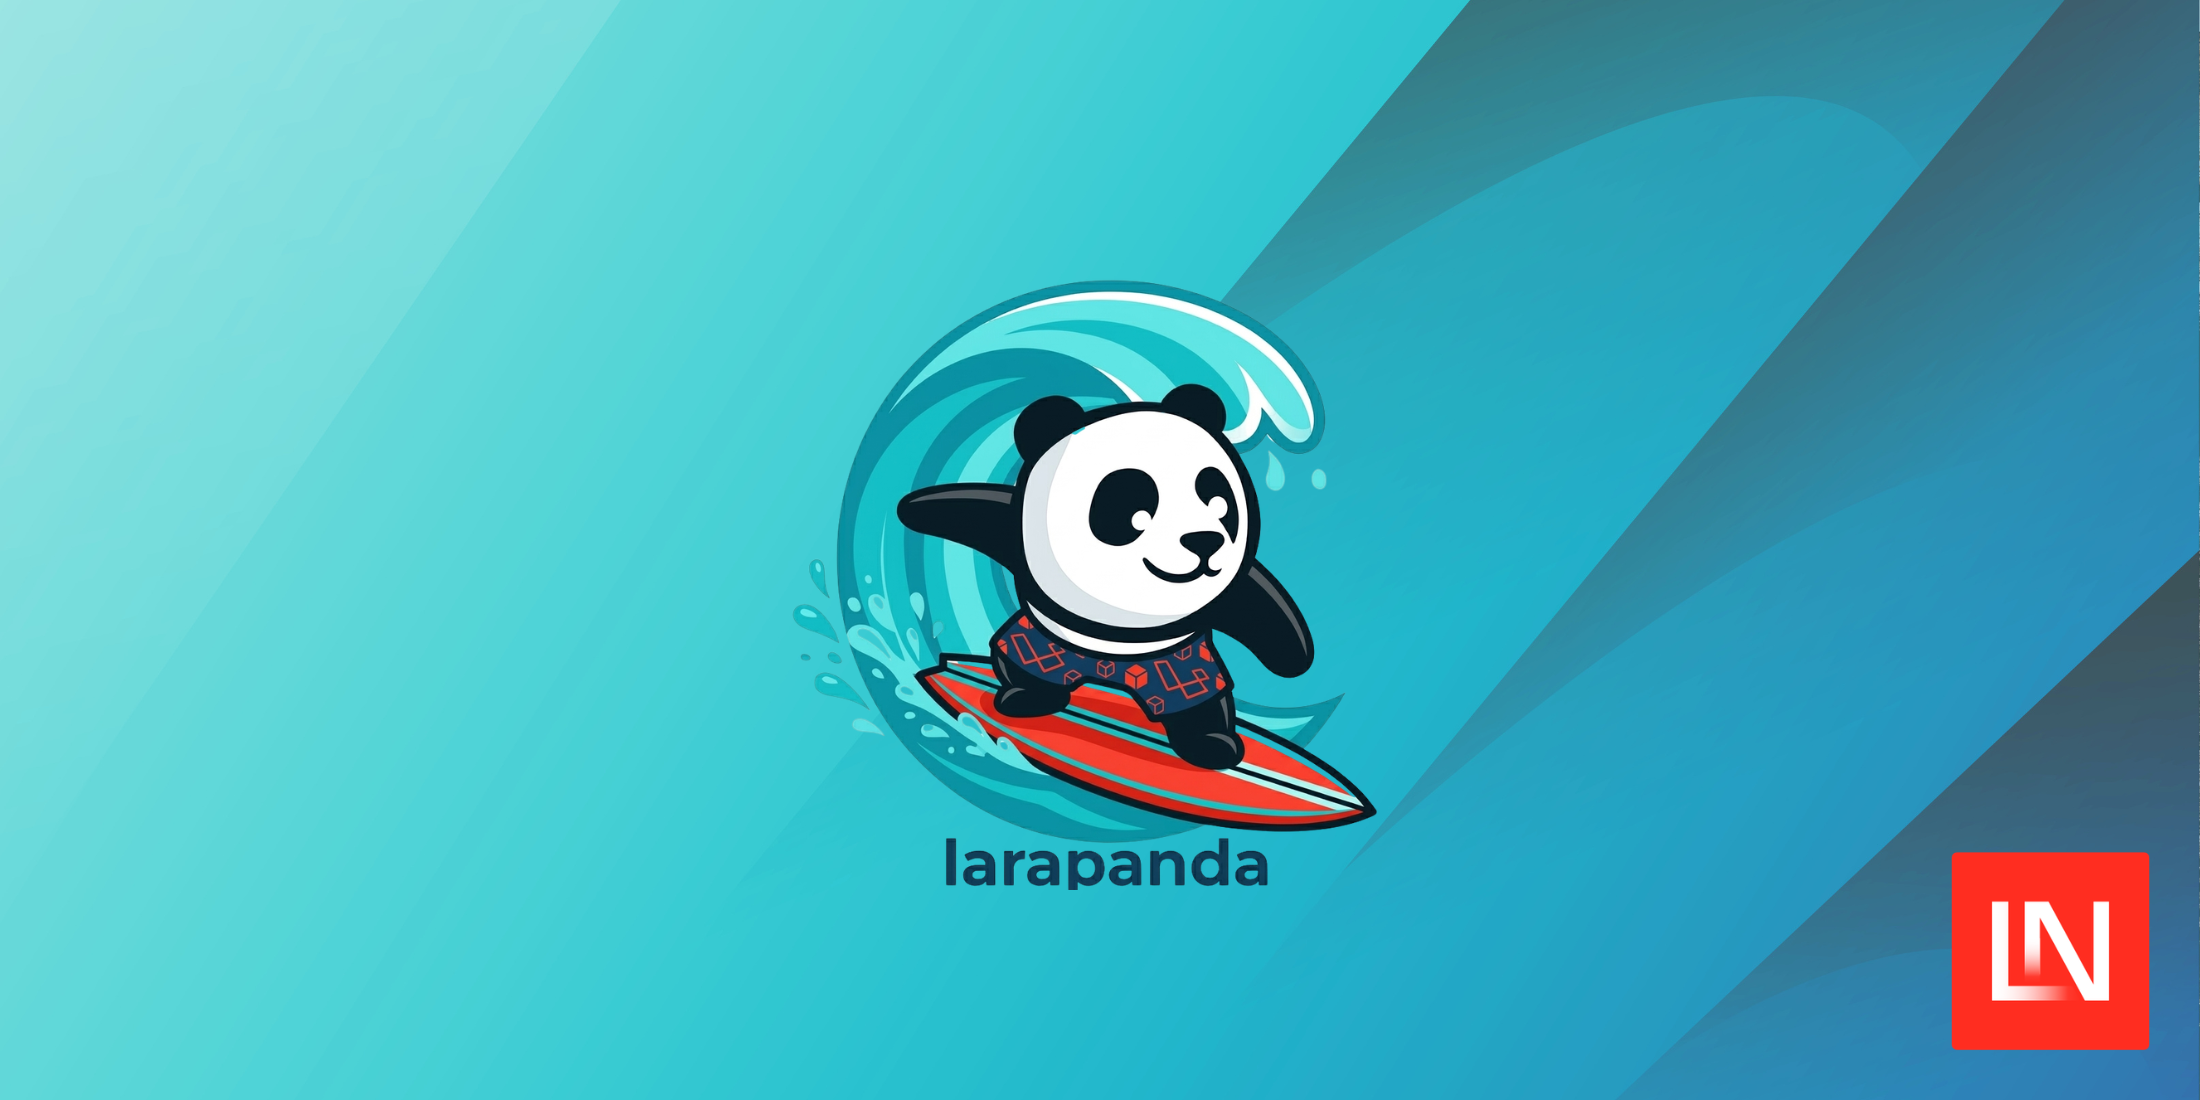
Larapanda: A Type-Safe Lightpanda Browser SDK for Laravel
Generate HTML Password Rules Attribute in Laravel 13.9.0
Model-Based Scheduling for Laravel with Cadence
DHH Joins Laravel Live Denmark 2026 for Fireside Chat with Taylor Otwell
Scrollbar Styling and Container Size Utilities in Tailwind CSS v4.3.0
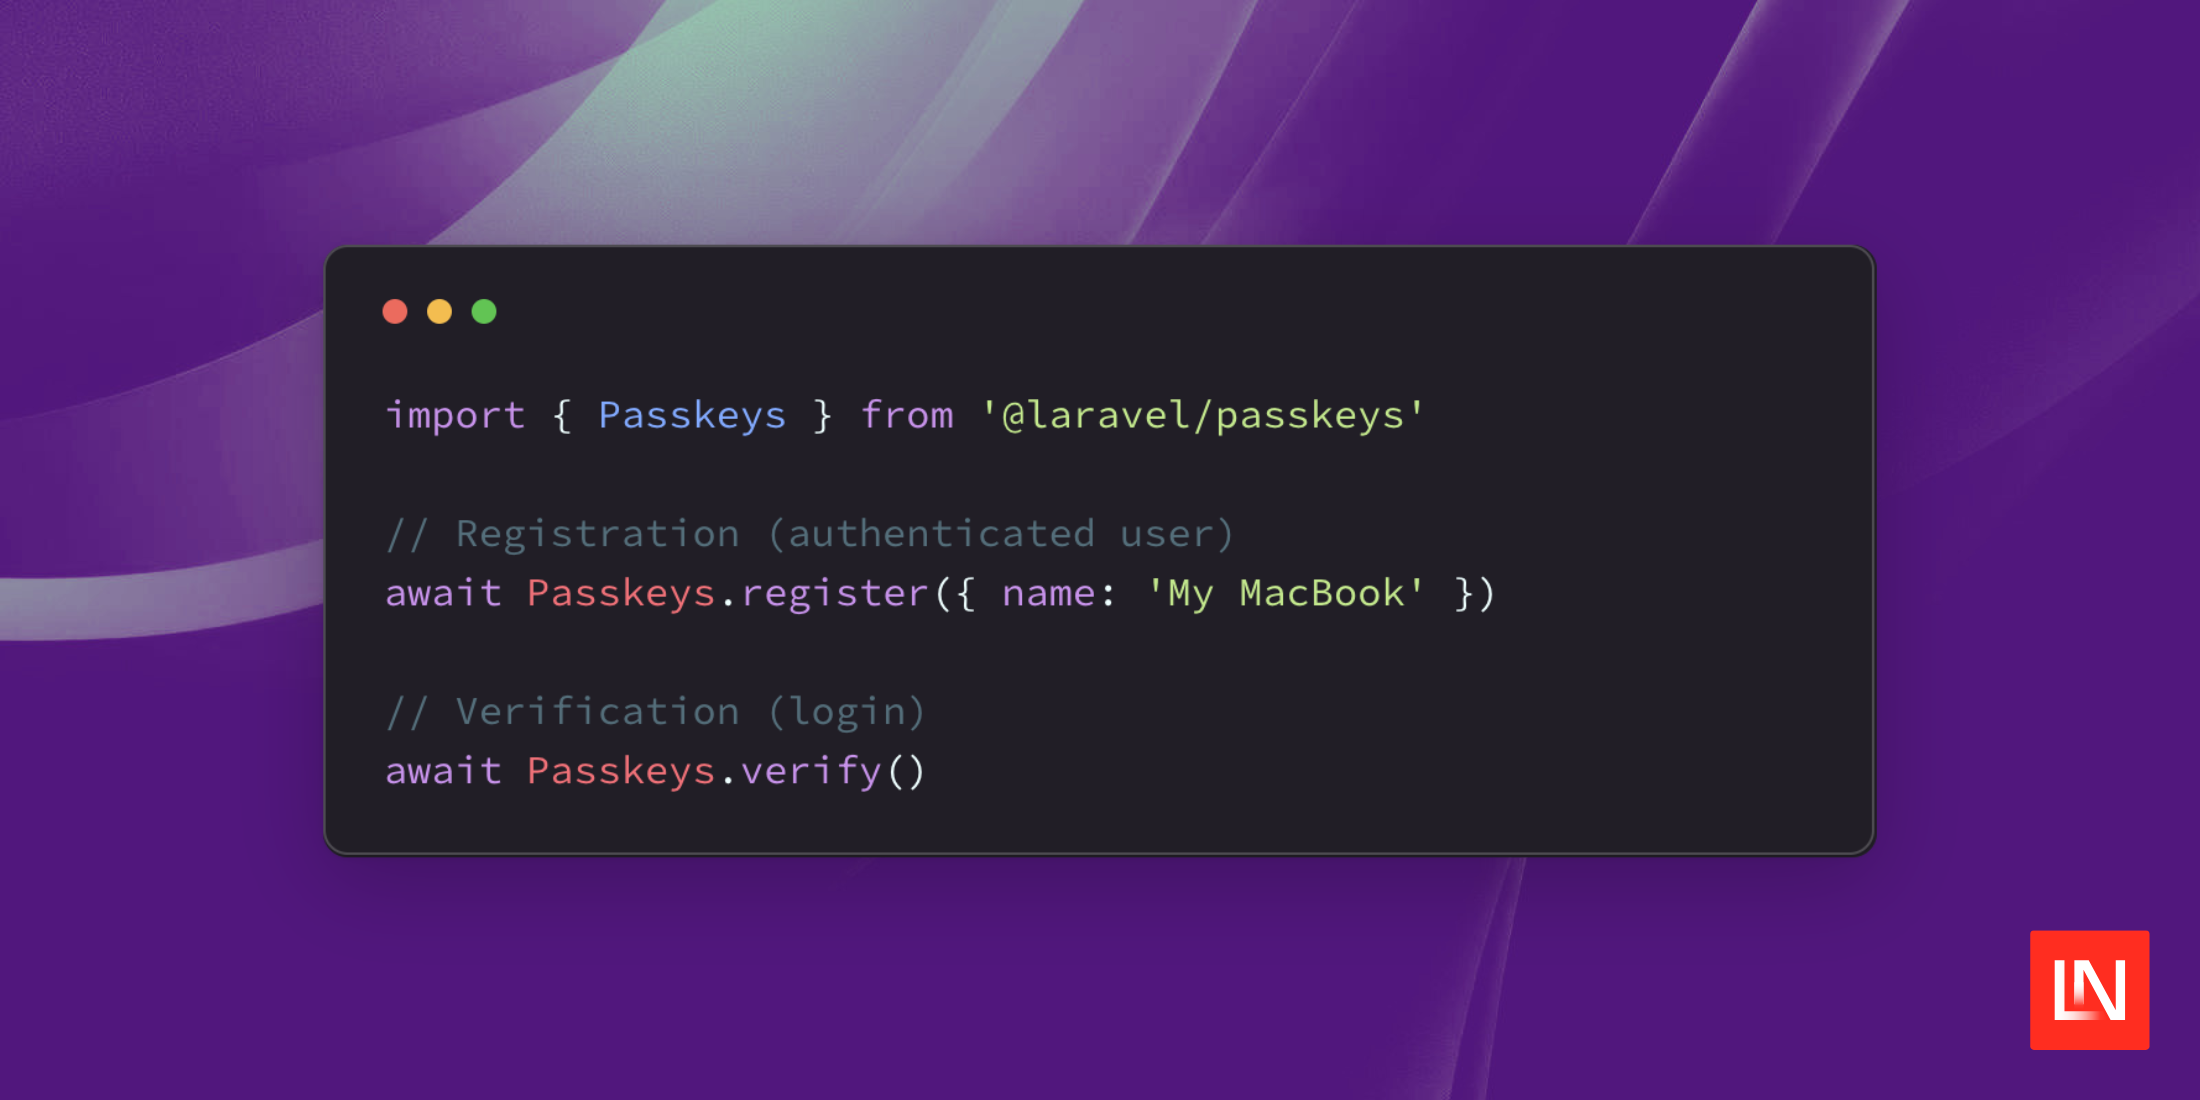
Laravel Introduces First-Party Passkey Authentication Support
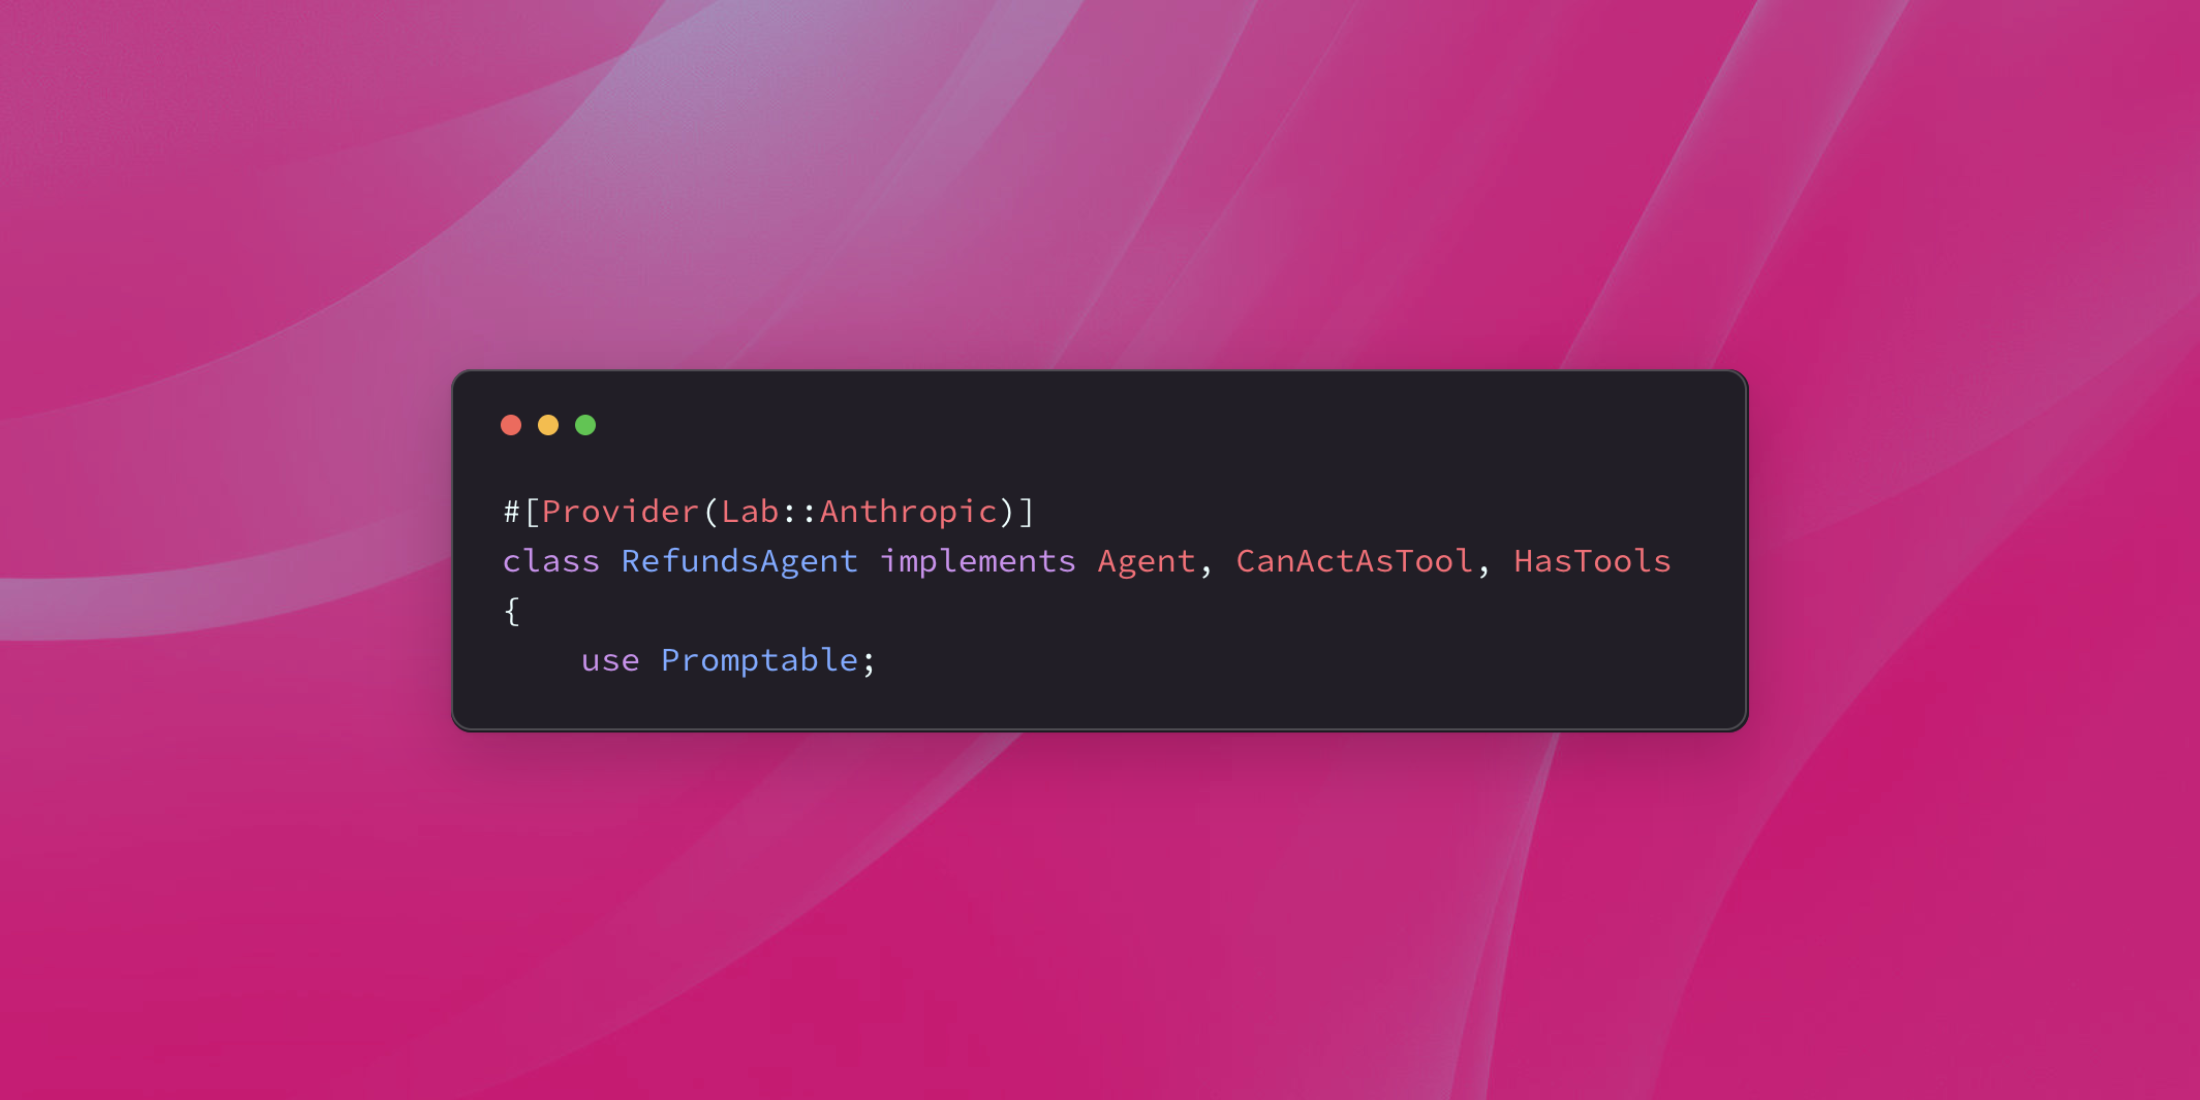
Laravel's AI SDK adds sub-agents
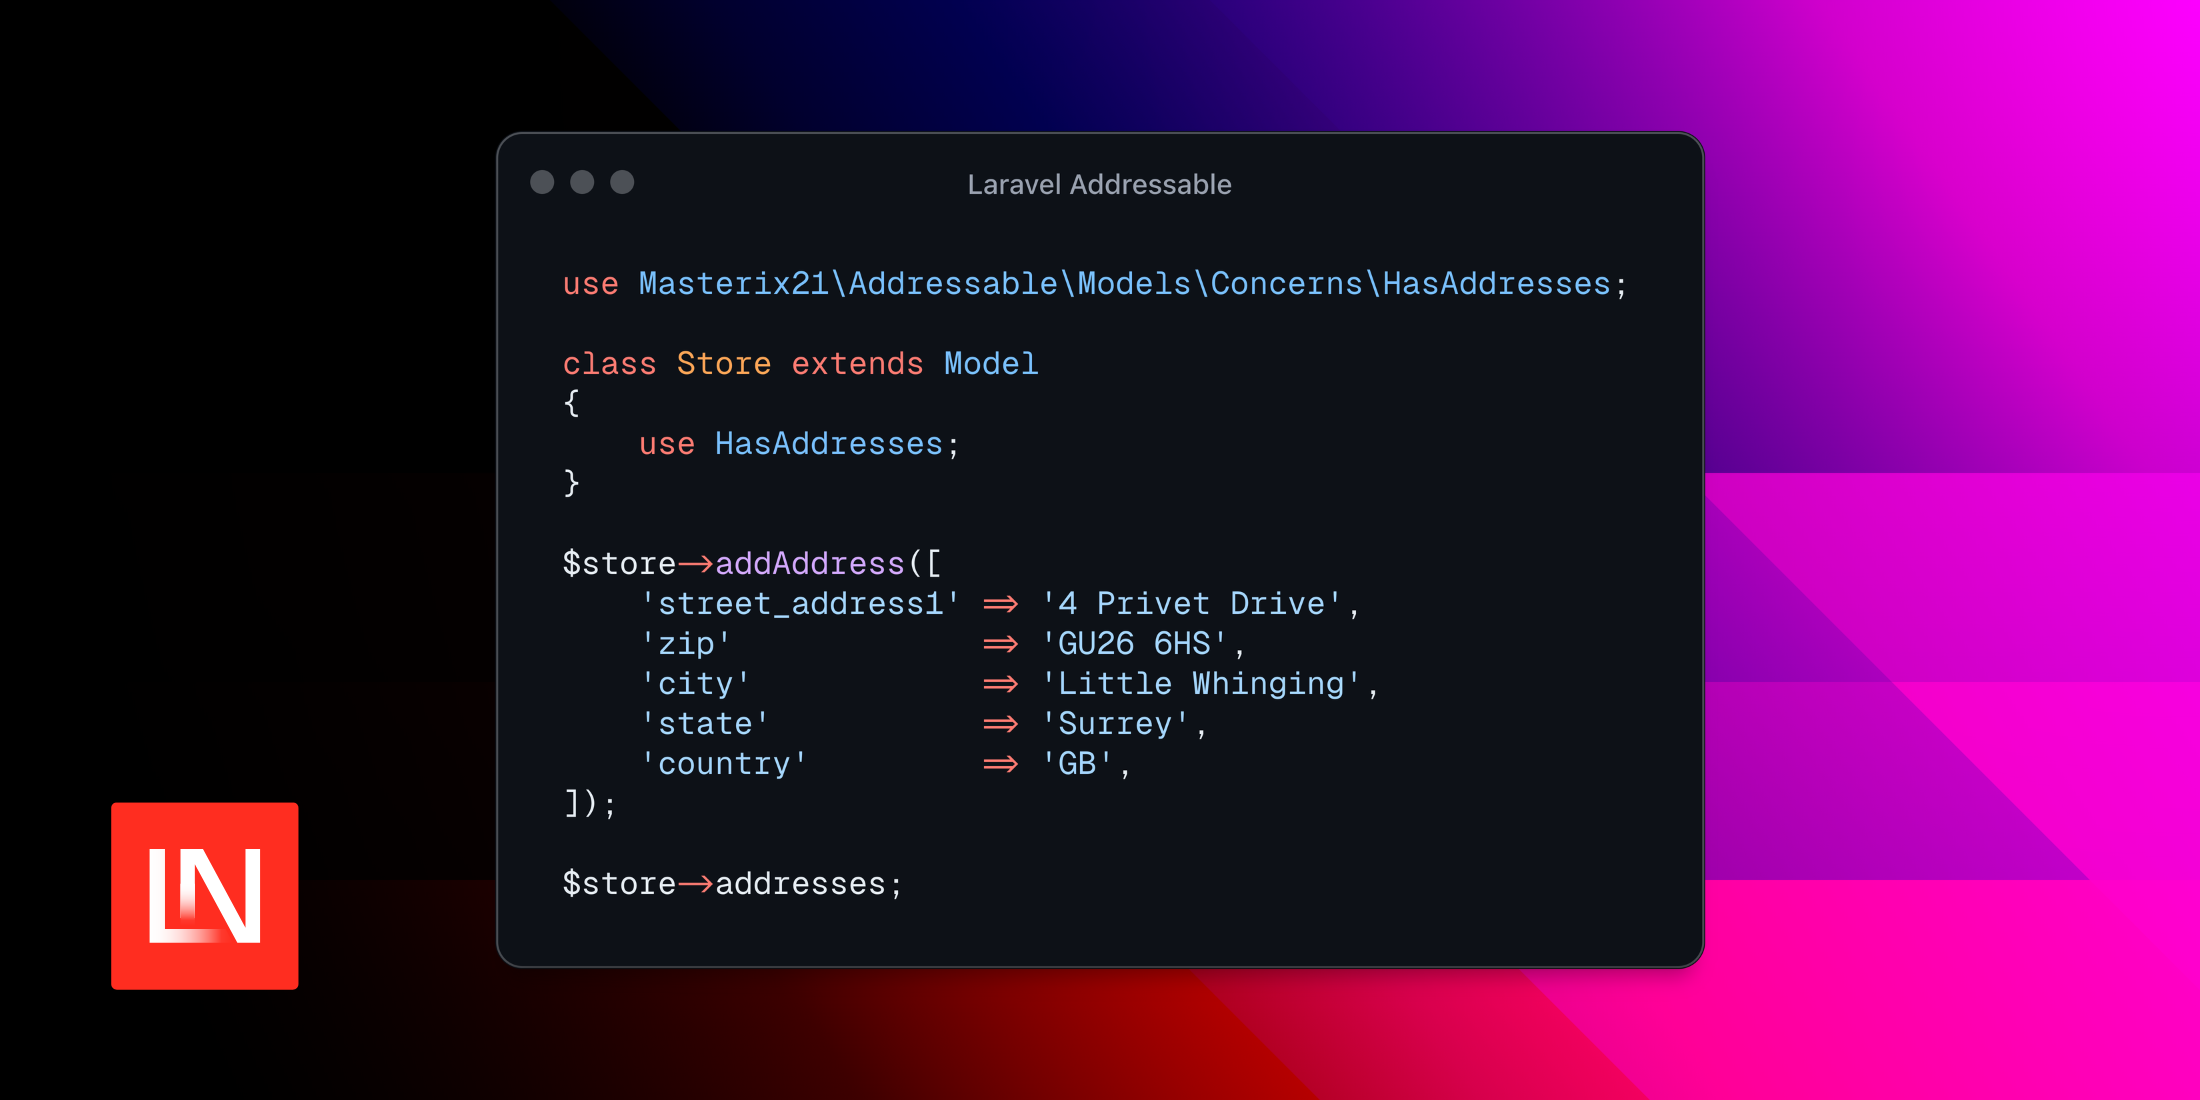
Attach Addresses to Any Eloquent Model with Laravel Addressable
Generate Livewire Skeleton Placeholders Automatically with Wirebones
Laravel ClickHouse: A Full-Featured ClickHouse Driver for Laravel
Personalized Content Delivery System: Building an AI-powered recommendation engine with Laravel and MongoDB
‹
1
2
3
4
...
72
73
›