jday.in.ua
Posts
Electronics
Programming
Textures
Search
Sign in
Register
Programming
Electronics
Gaming
Posts
Since 2026
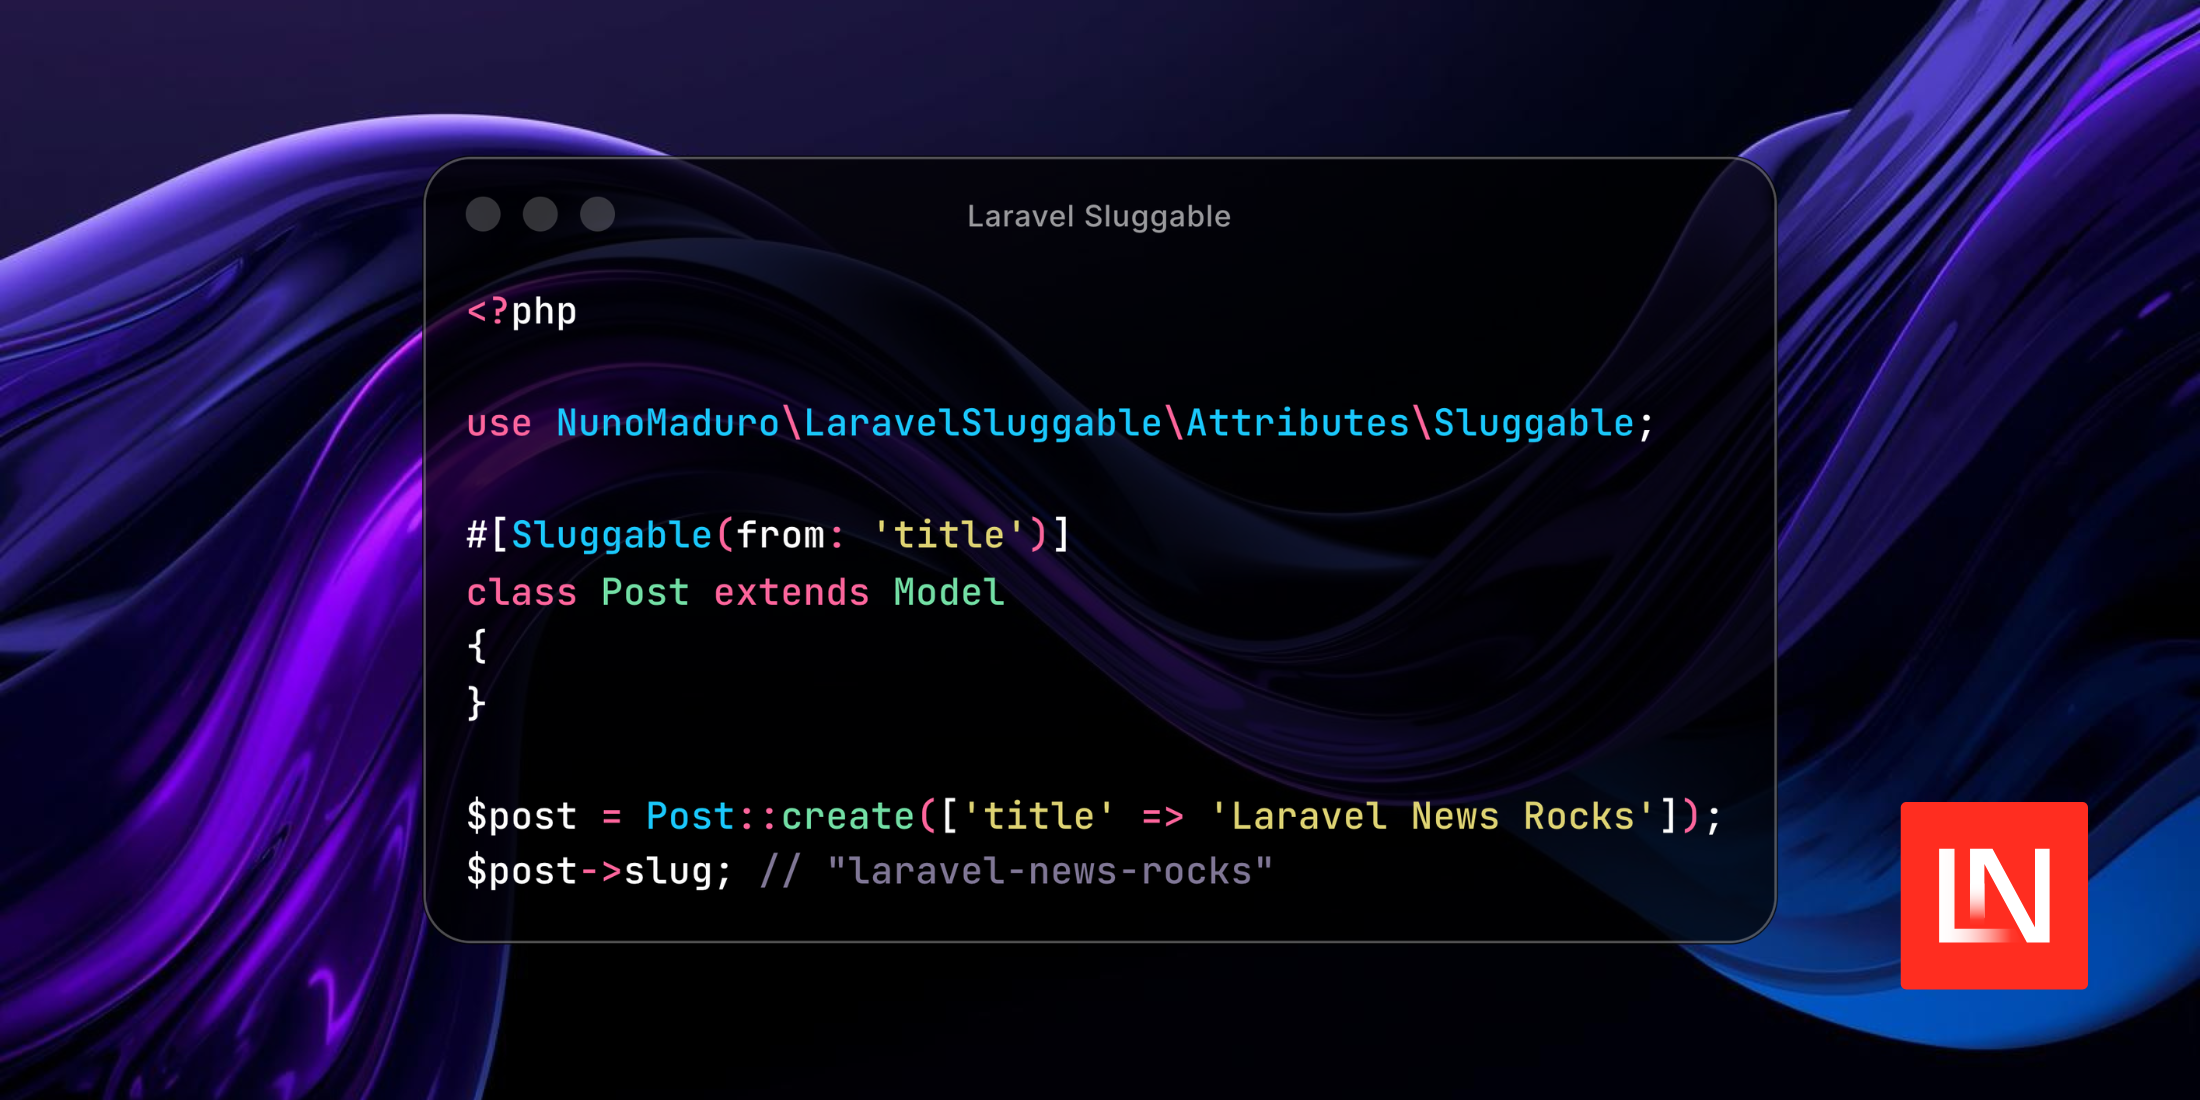
Laravel Sluggable
LLPhant: A PHP Generative AI Framework Inspired by LangChain
PHPverse 2026 Returns June 9th
Laravel Mobile Pass: Generate Apple Wallet and Google Wallet Passes
Laravel API Starter Kits Are Coming Soon!
Build Custom Middleware for Query Performance Monitoring and Optimization in Laravel with MongoDB
Debounceable Queued Jobs in Laravel 13.6.0
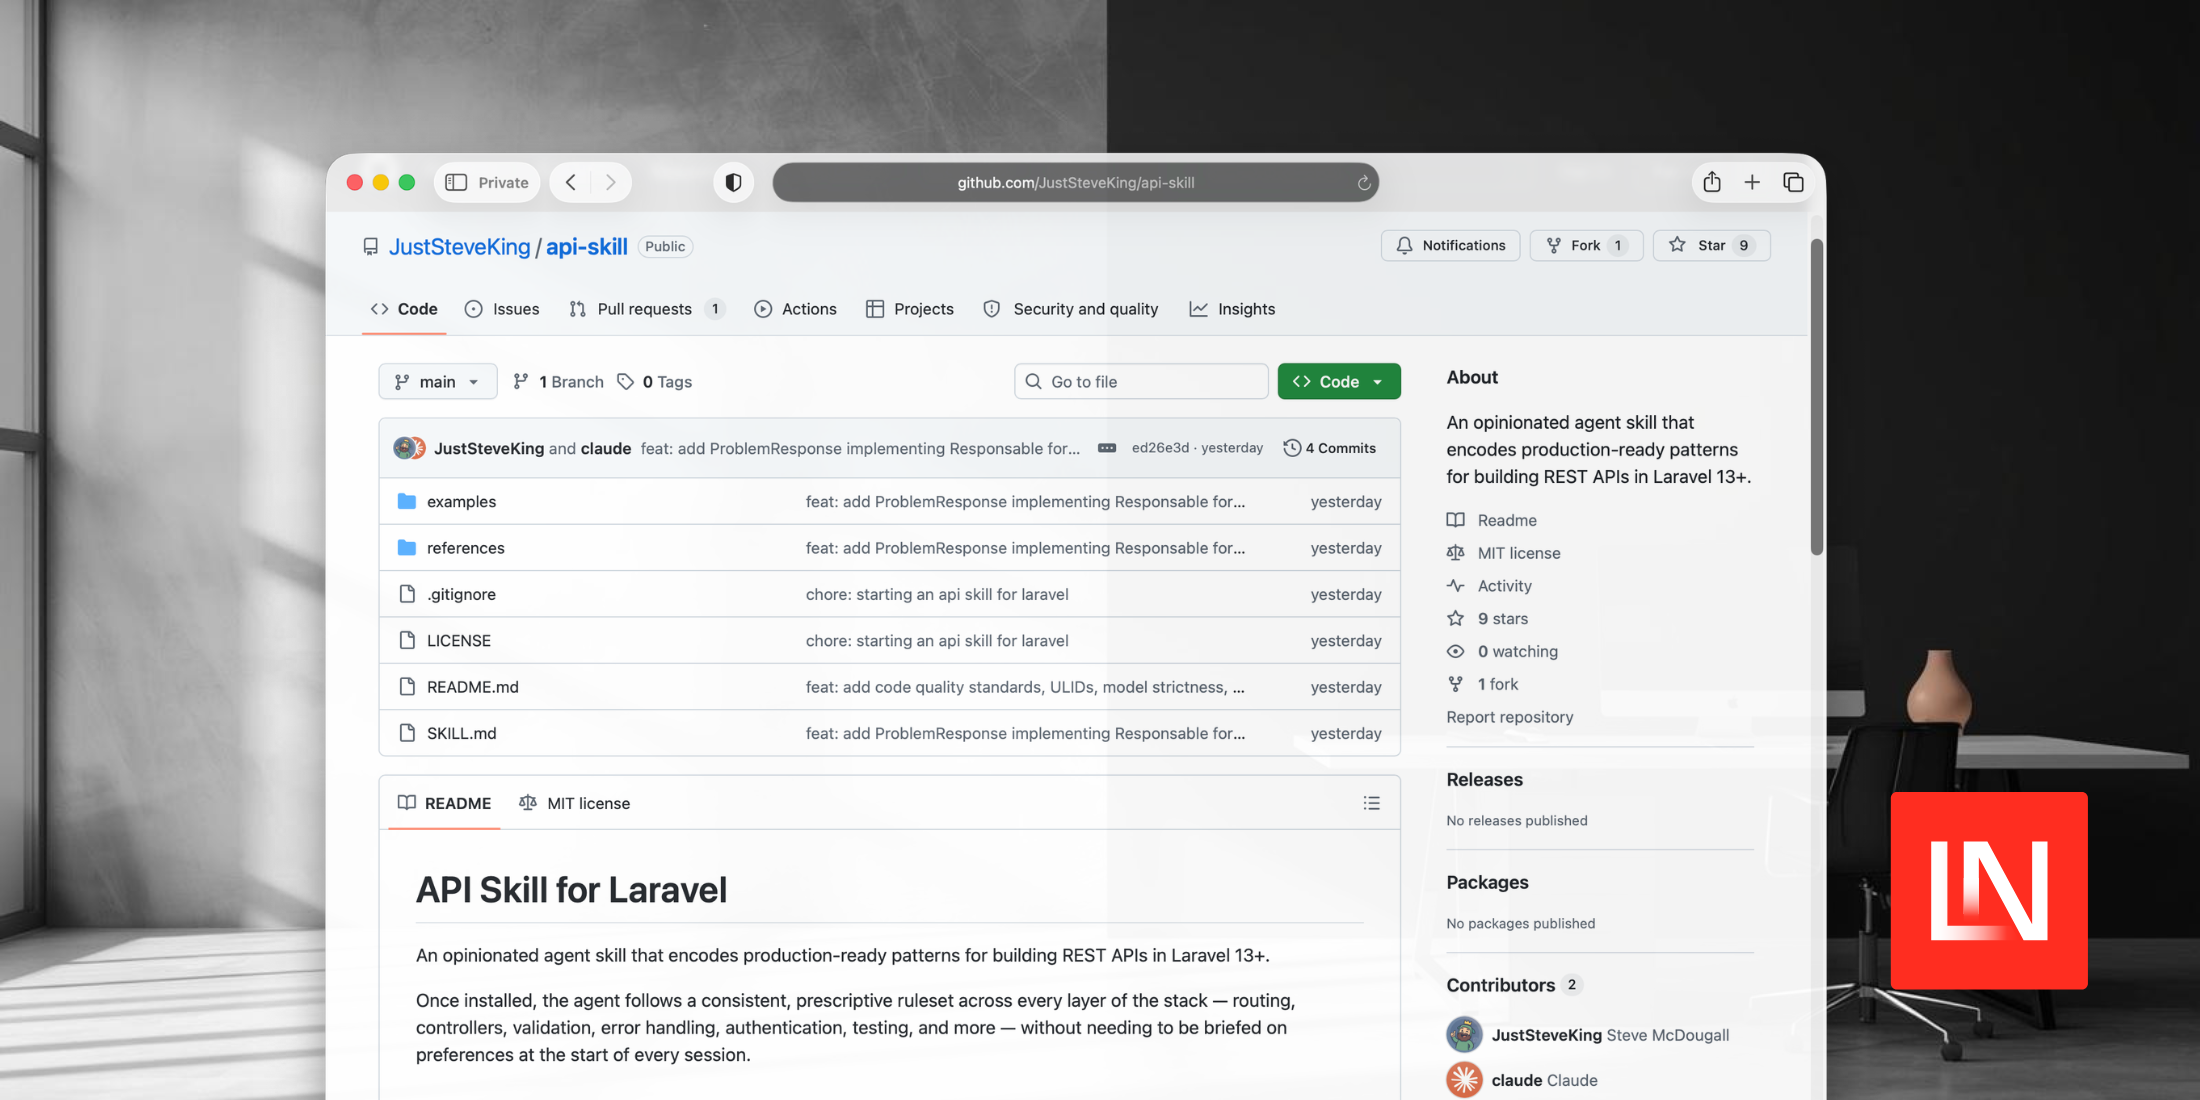
An Opinionated Agent Skill for Building REST APIs in Laravel
Generate, Parse, and Convert Documents in PHP with Paperdoc
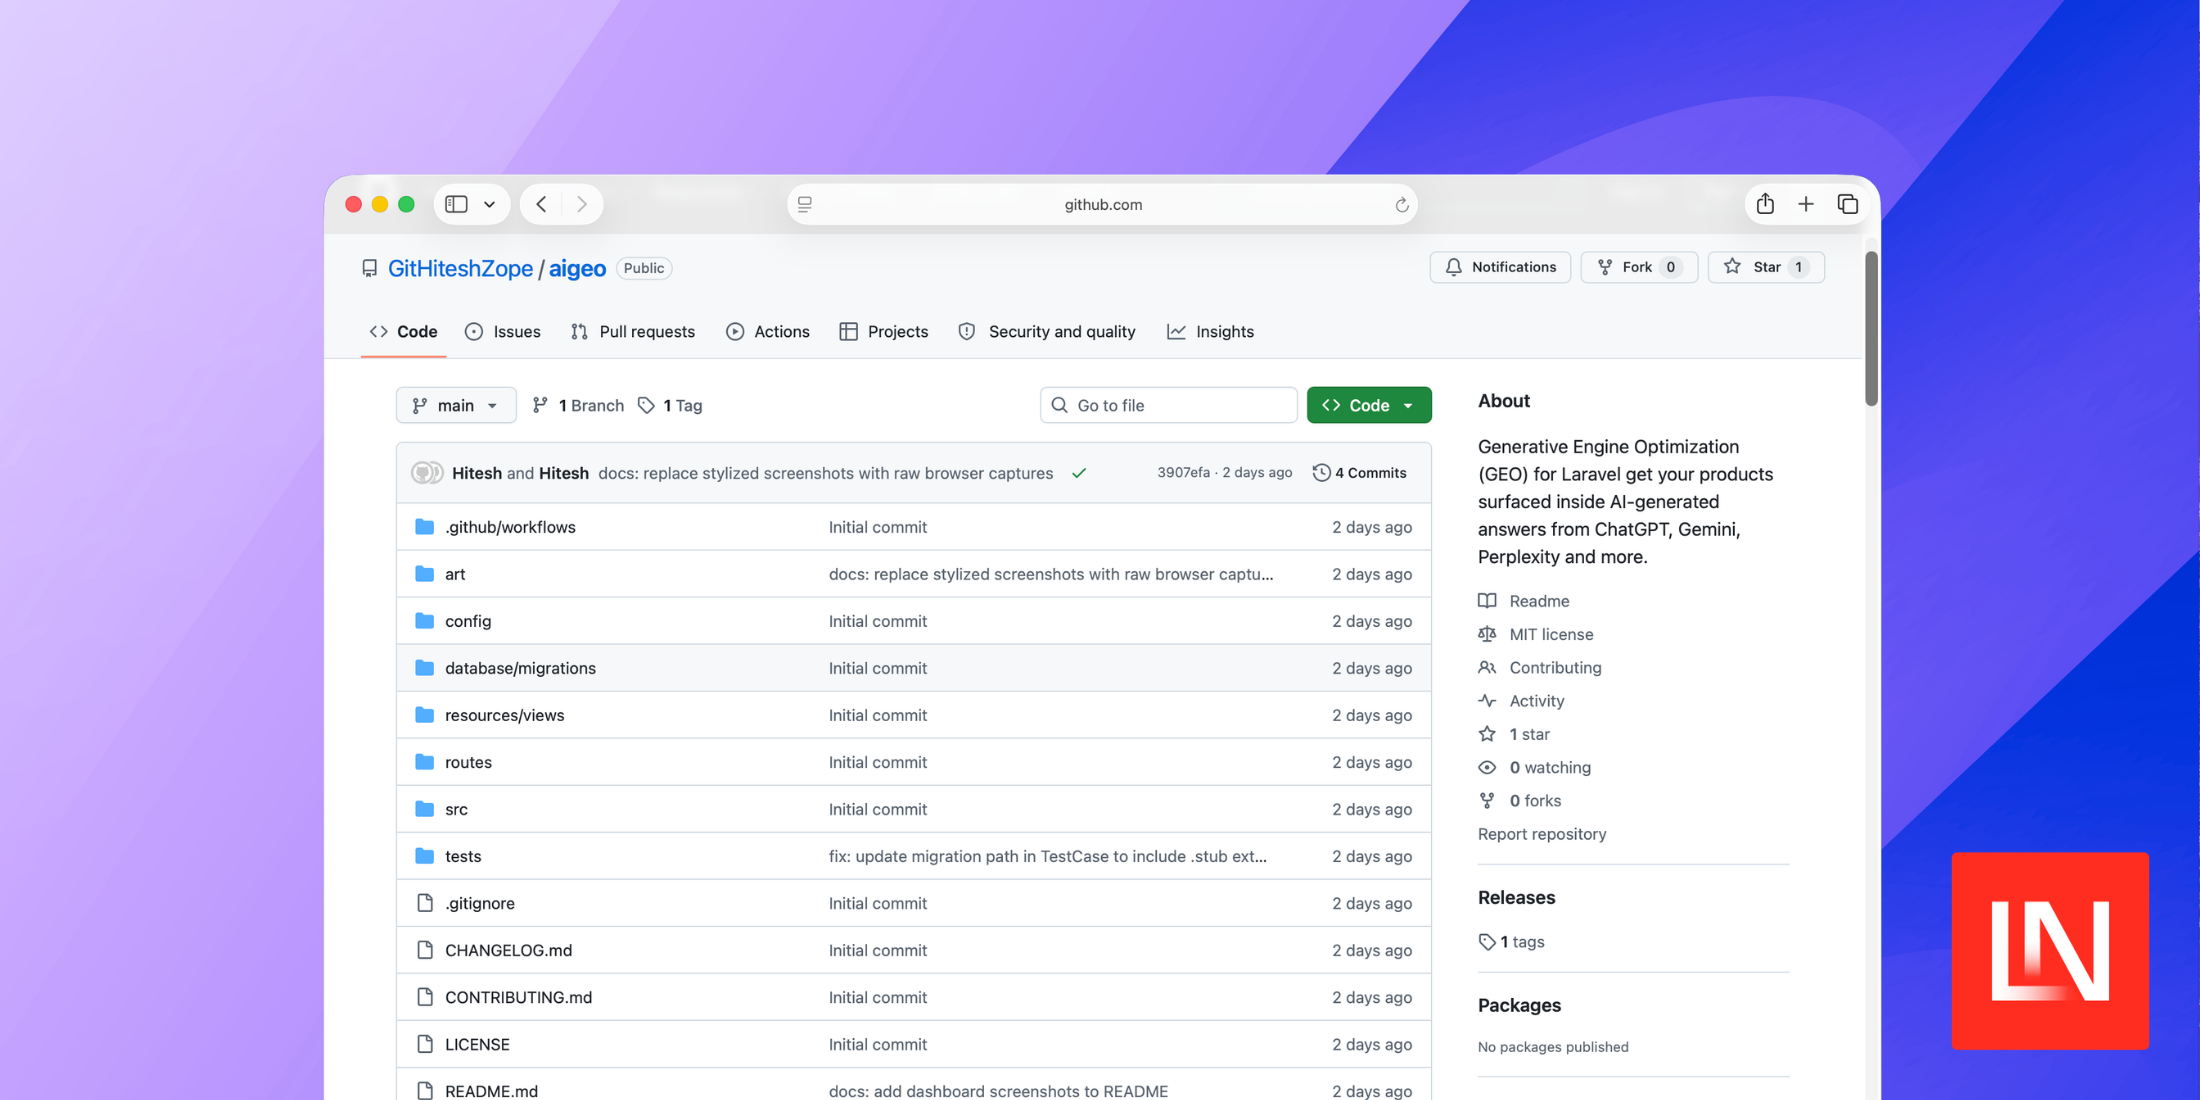
AI Generative Engine Optimization for Laravel
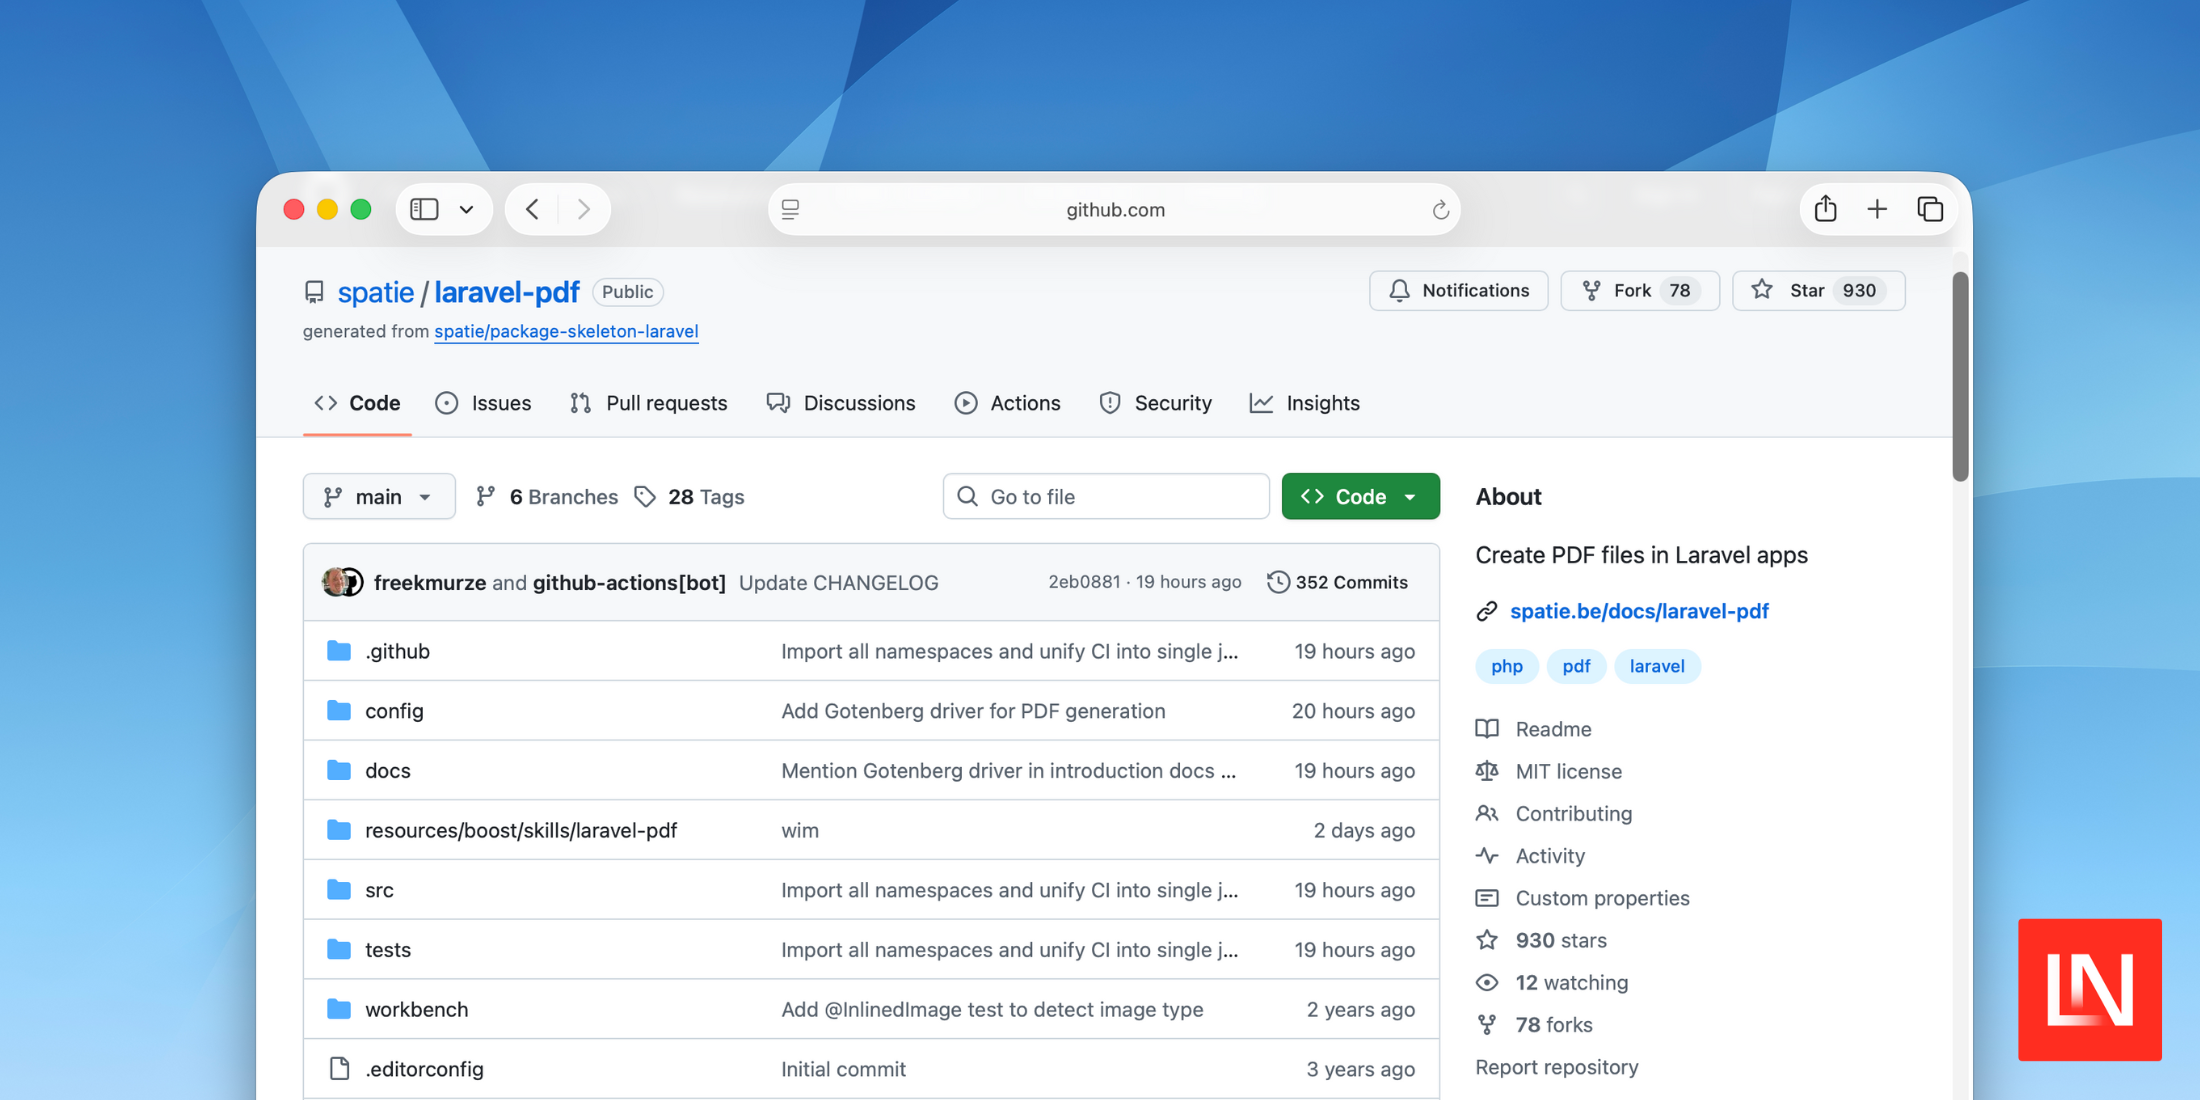
Spatie Shares Their Coding Guidelines as AI Skills
Attach PDFs Directly to Mailables in laravel-pdf 2.6.0
Redis Cluster Support for Queues in Laravel 13.5.0
Ship AI with Laravel: Your AI Agent Has Amnesia. Let's Fix It.
Composer 2.9.6 Fixes Two Perforce Command Injection Vulnerabilities
‹
1
2
3
4
...
72
73
›