jday.in.ua
Posts
Electronics
Programming
Textures
Search
Sign in
Register
Programming
Electronics
Gaming
Posts
Since 2026
Laravel 12.43 Released
Charting with Chart.js - Laravel In Practice EP15
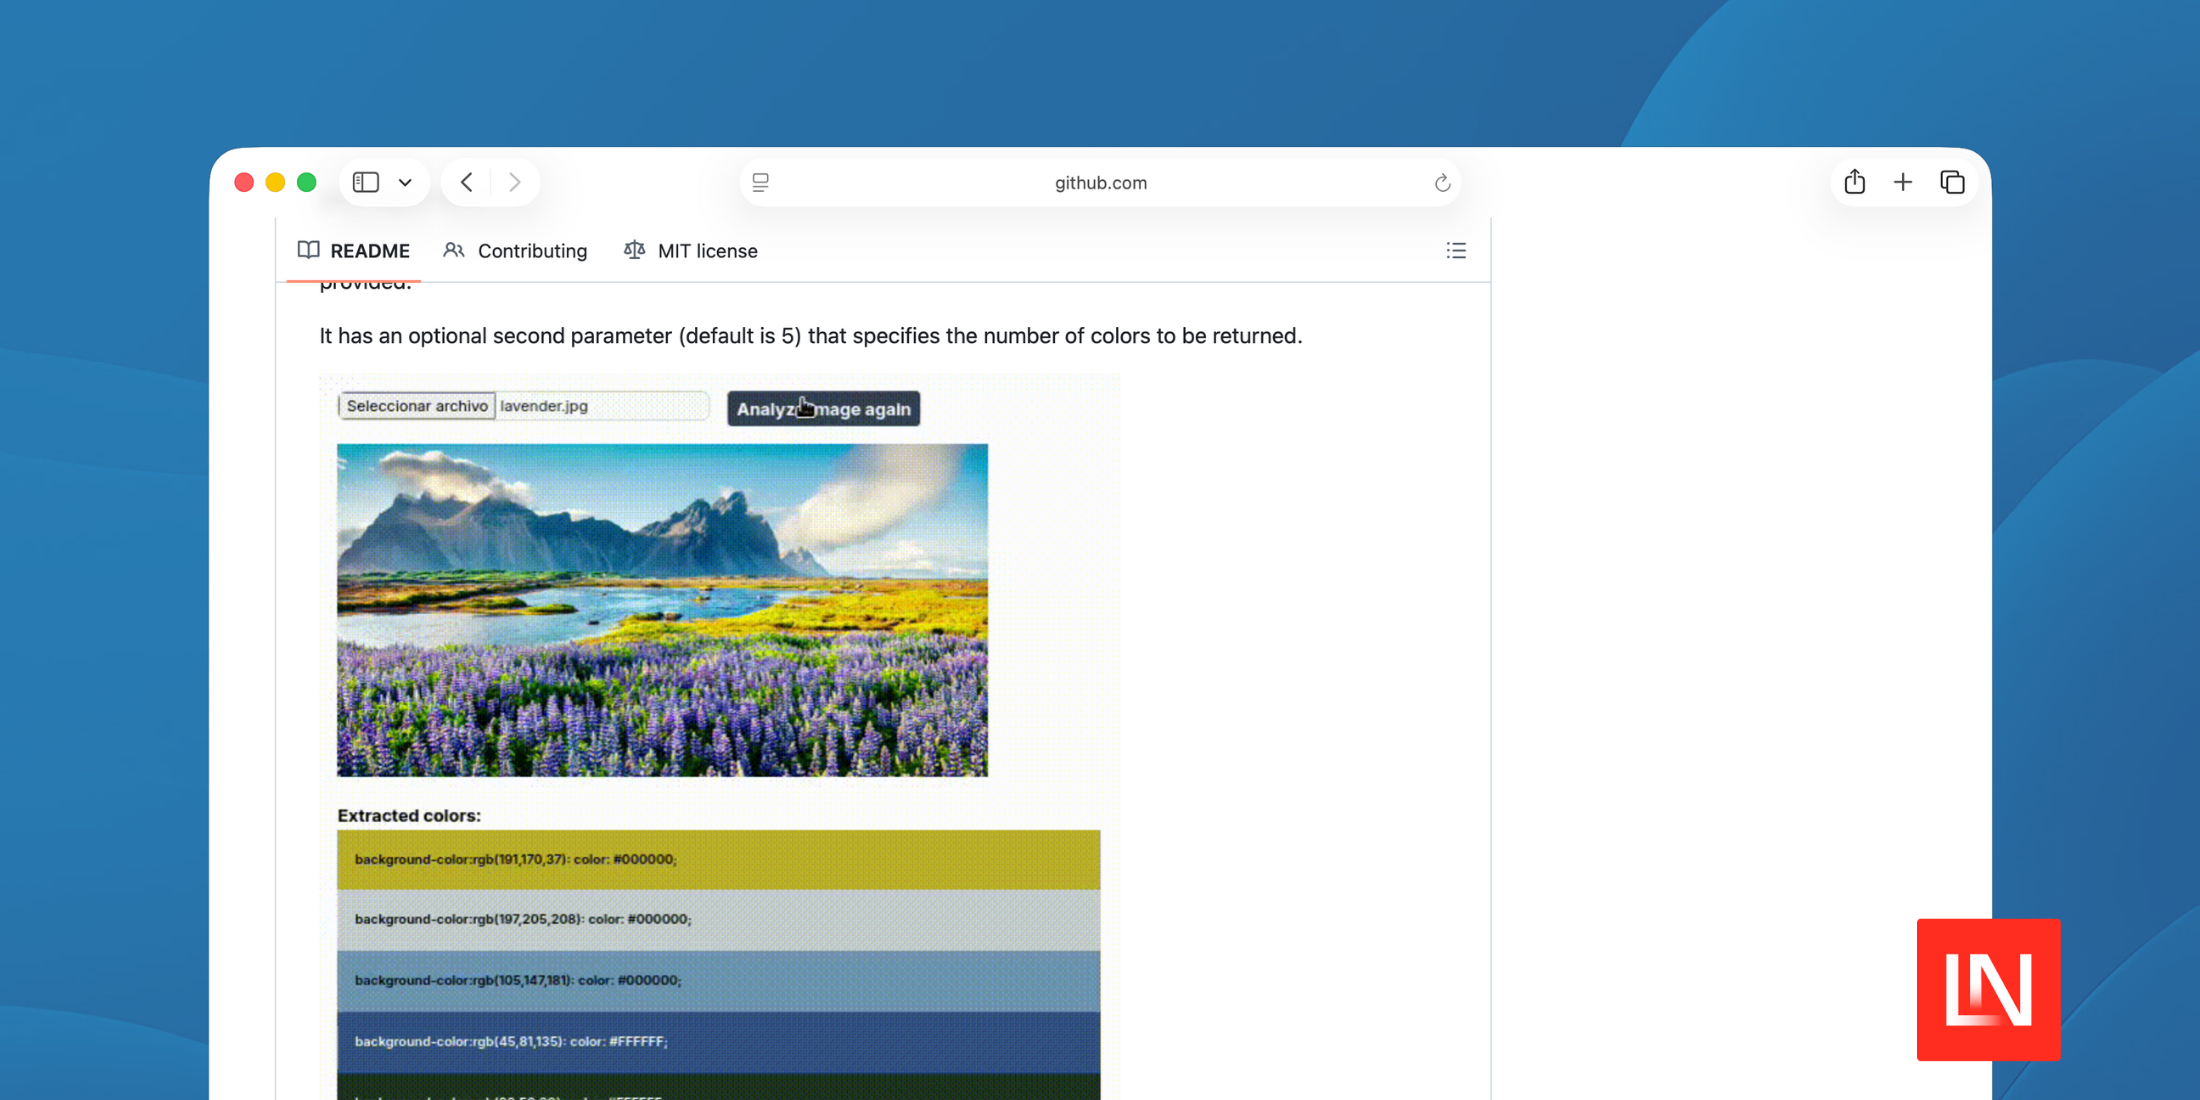
Colority Is a PHP Library for Parsing and Analyzing Colors
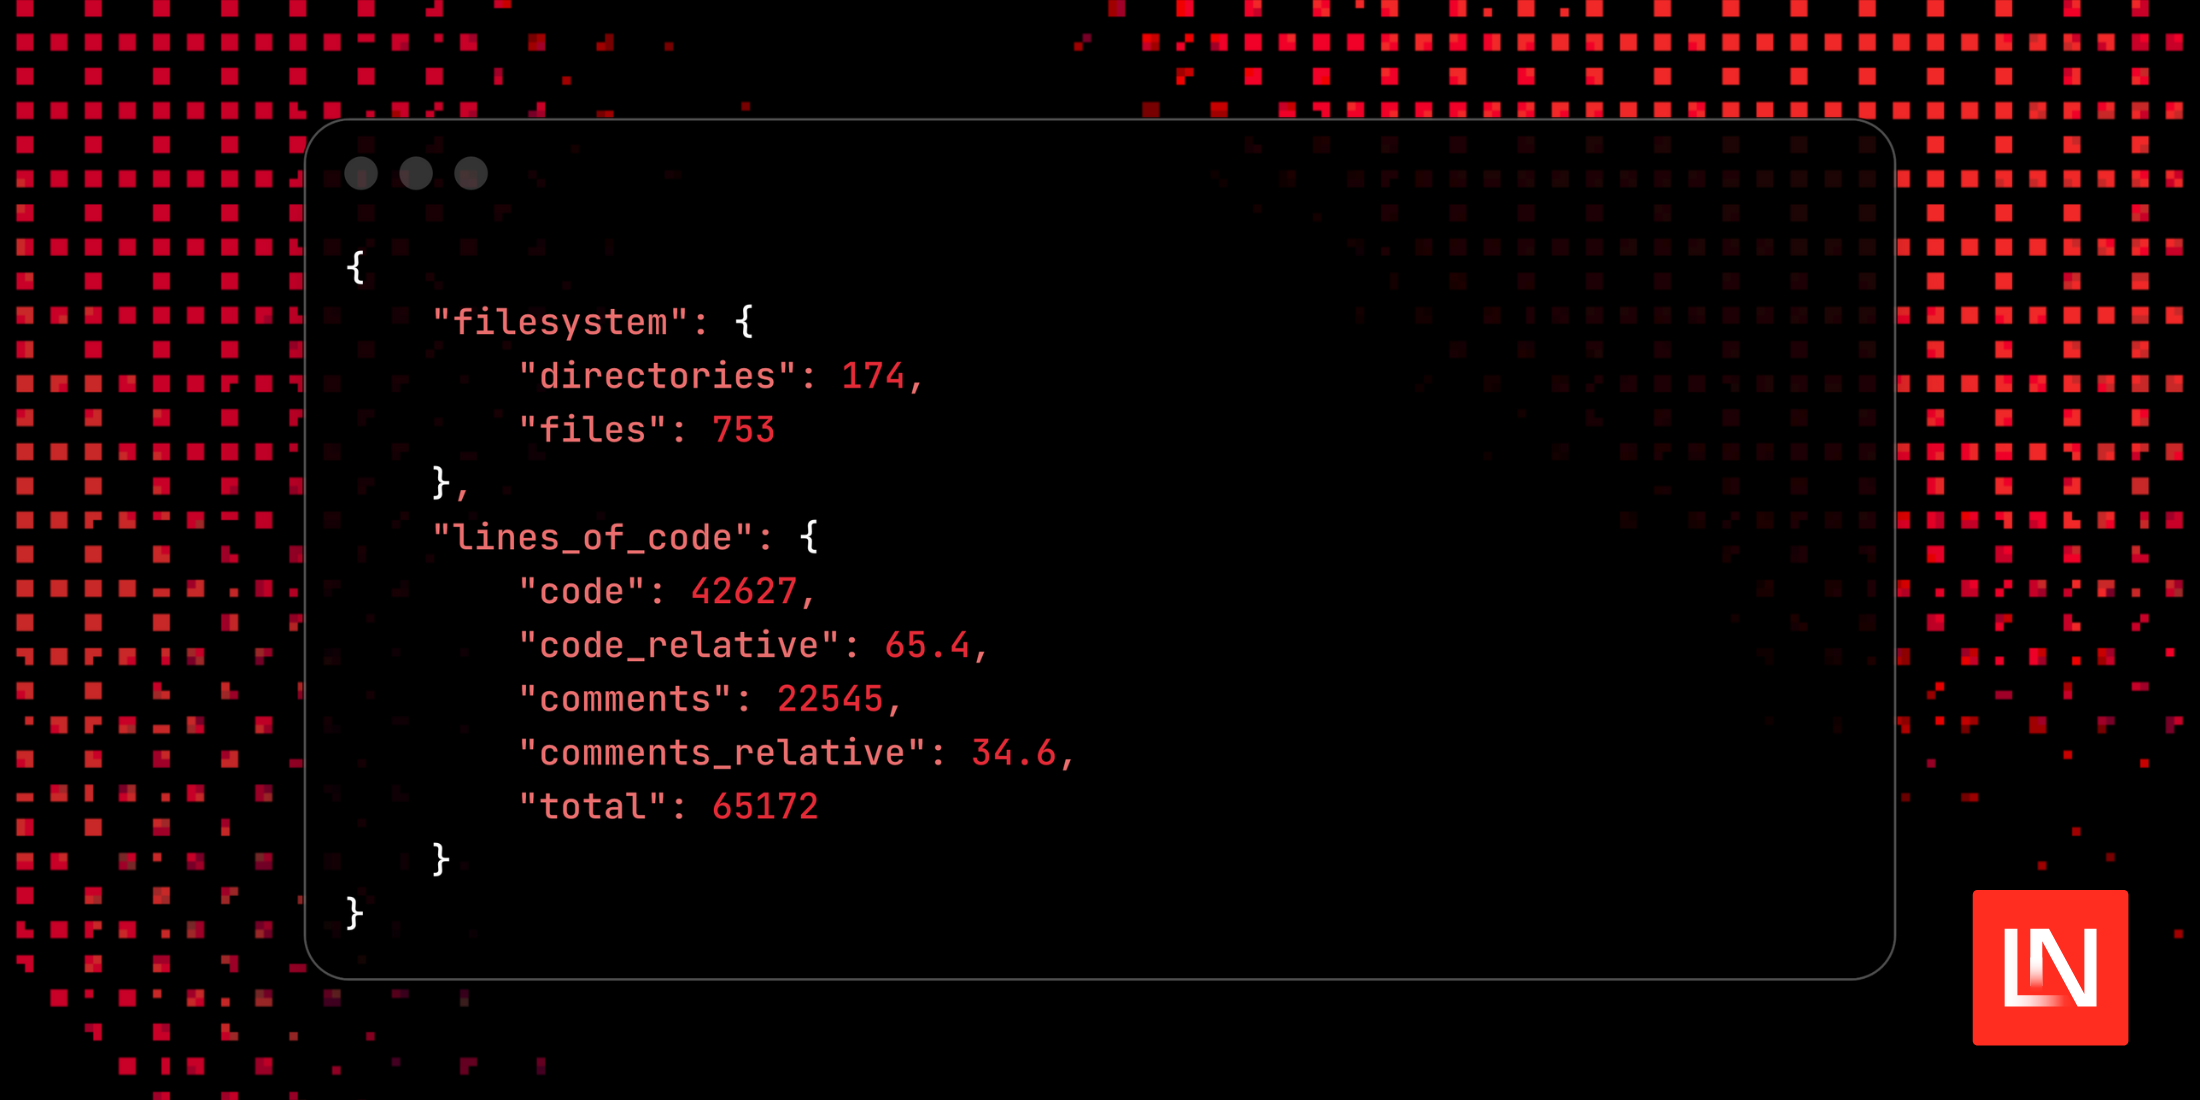
Measure Lines of Code and PHP Features Used
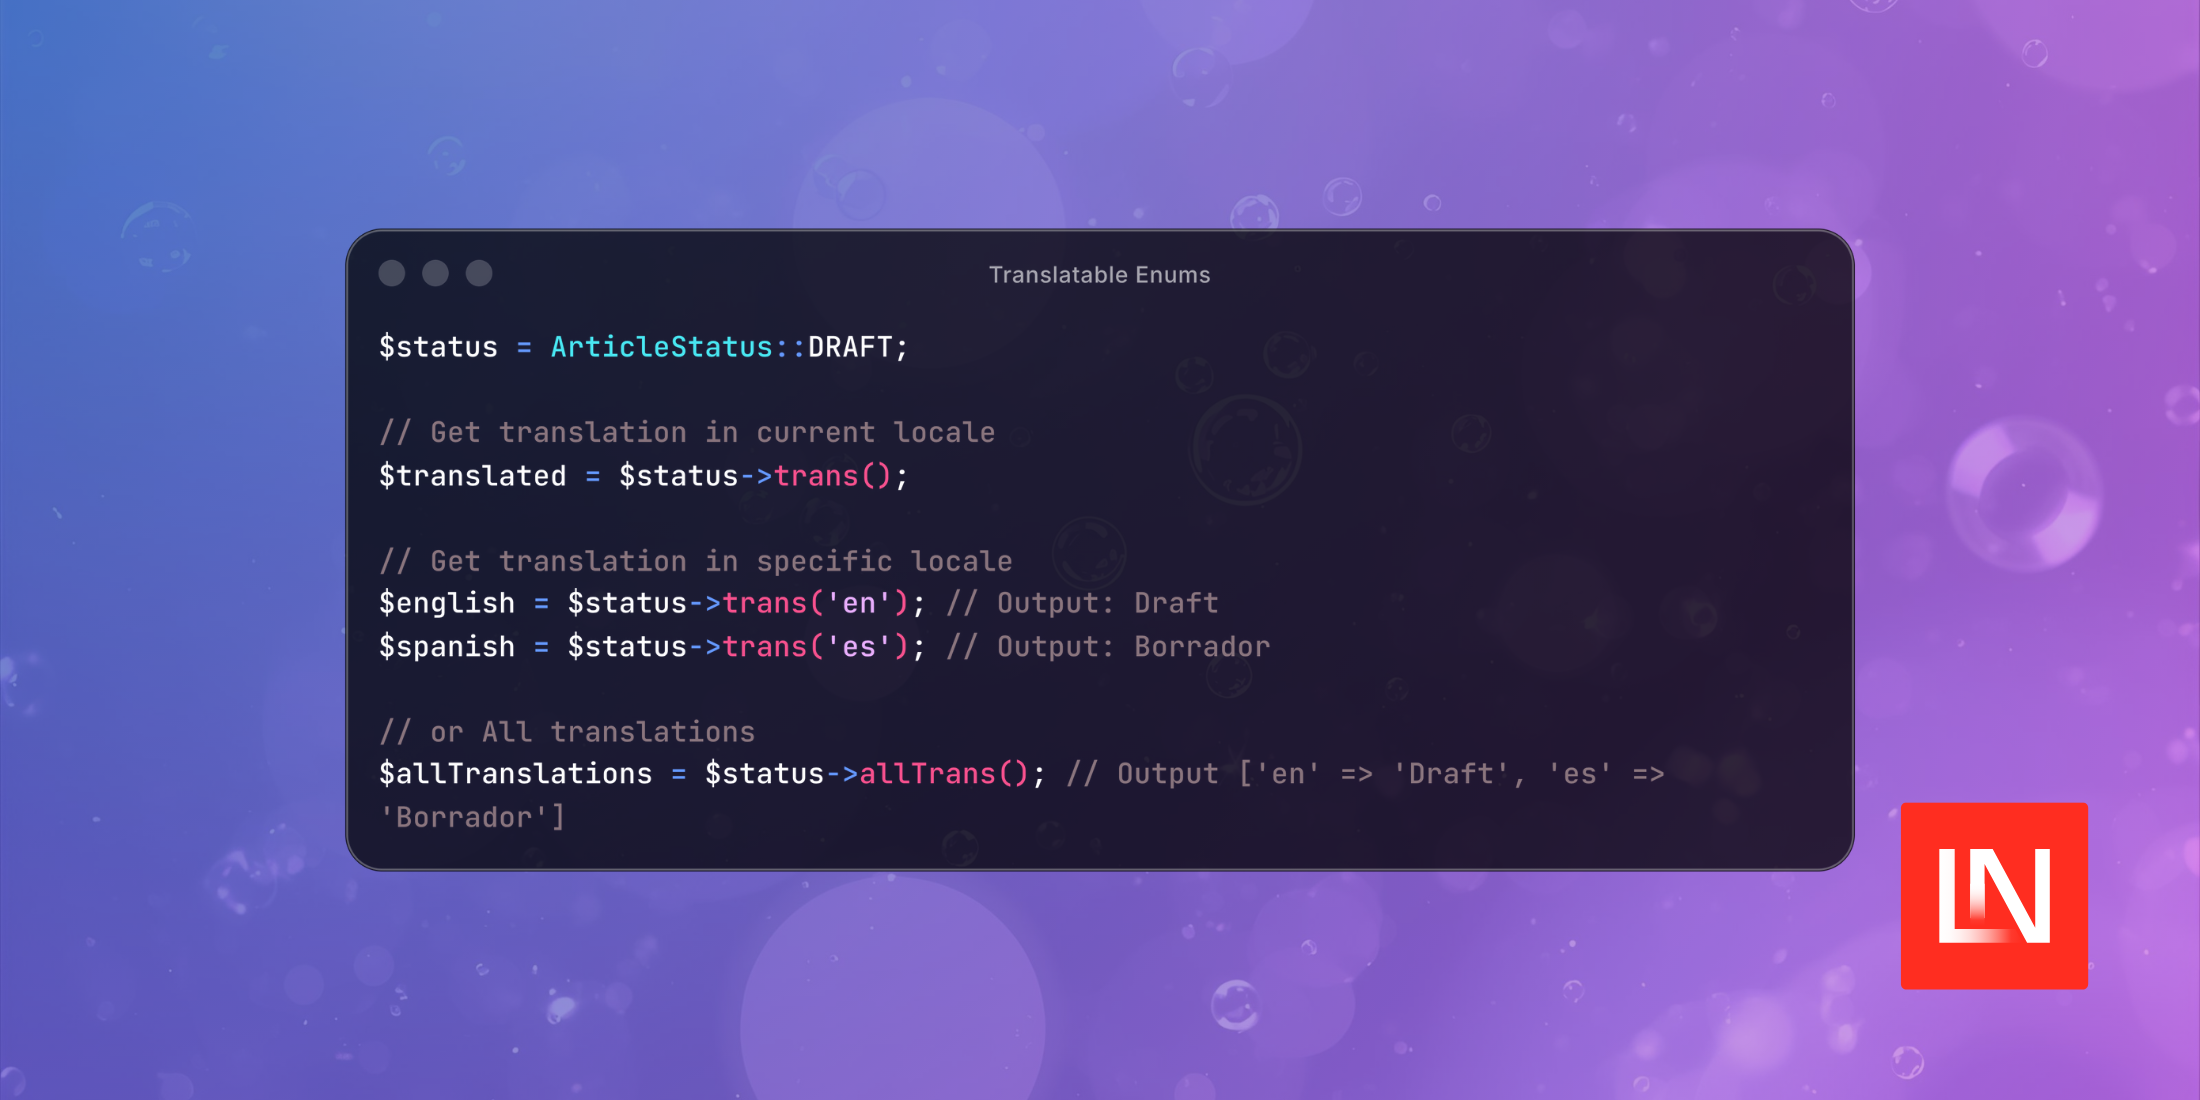
Translatable Enums
Inertia 2.3 Adds Precognition Support
Migrating from SQL to MongoDB
Refine is Live Blade Editor for Laravel
Geocoding with Cloudflare
HTTP Client Request Attributes in Laravel 12.42
Simple Media Management with the Artifact Package for Laravel
Building a Dynamic Dashboard - Laravel In Practice EP14
Laravel Bastion - A Stripe-inspired API authentication package
Laravel launches an OSS Advent Calendar
PhpStorm 2025.3 brings bundled Laravel support, PHP 8.5, and new AI agents
‹
1
2
...
9
...
66
67
›